How to Write Beautiful Messages on Cakes — A Step-by-Step Tutorial (Blue Heaven Style)

How to Write Beautiful Messages on Cakes — A Step-by-Step Tutorial (Blue Heaven Style)
Writing a neat, attractive message on a cake is a small
skill with a big impact. A clear, well-lettered message turns a simple cake
into a personal gift. Here at Blue Heaven, the Best Cake Shop in Bhopal, we know that final touch matters. This tutorial shows a simple,
reliable method to write beautiful messages — whether for birthdays,
anniversaries or a casual celebration. The steps are practical, easy to follow
and designed for home bakers as well as for those working in small bakeries.
Why the message matters
A cake message is the final touch. It communicates the
feeling behind the cake: celebration, comfort, surprise. A messy or shaky
inscription distracts from the thought; a clean, balanced message enhances the
cake and the moment. Focus on clarity, balance and simplicity rather than
trying to write too many words.
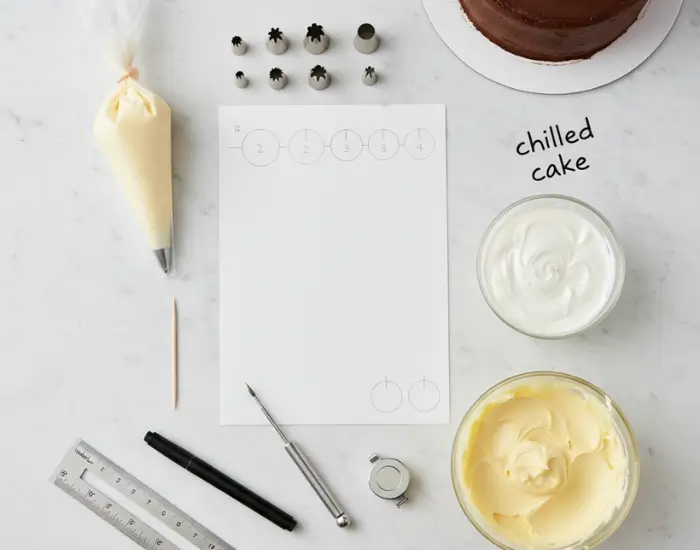
Tools and materials you need
- Piping
bag (reusable or disposable)
- Small
round piping tip (size #2 or #3 for fine letters; #4 for slightly
larger writing)
- Practice
board (a piece of parchment or acetate sheet)
- Royal
icing or stiff buttercream for firm lines; soft buttercream for
smooth, rounded writing (choose based on finish)
- Toothpicks
or a scribe tool
- Ruler
or measuring tape (for spacing guides)
- Parchment
paper and a marker (to draw practice lines)
- Chilled
cake — the cake should be cold and slightly firm to the touch for best
results
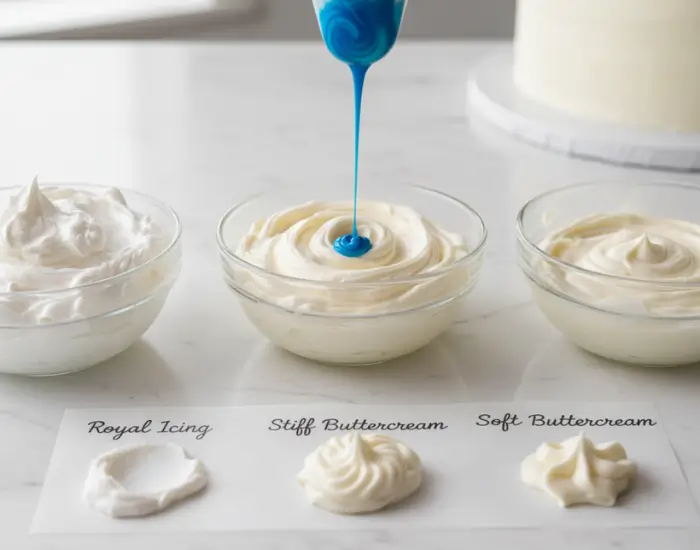
Choosing the right icing
Not all frostings write the same.
- Royal
icing dries firm and gives crisp edges; ideal for detailed, precise
script.
- Stiff
buttercream holds shape well and is forgiving for beginners.
- Soft
buttercream gives a rounded look but spreads more — use if a softer
style is preferred.
Tip: Use a small amount of gel food colouring for contrast.
Avoid watery liquids — they make the icing run.
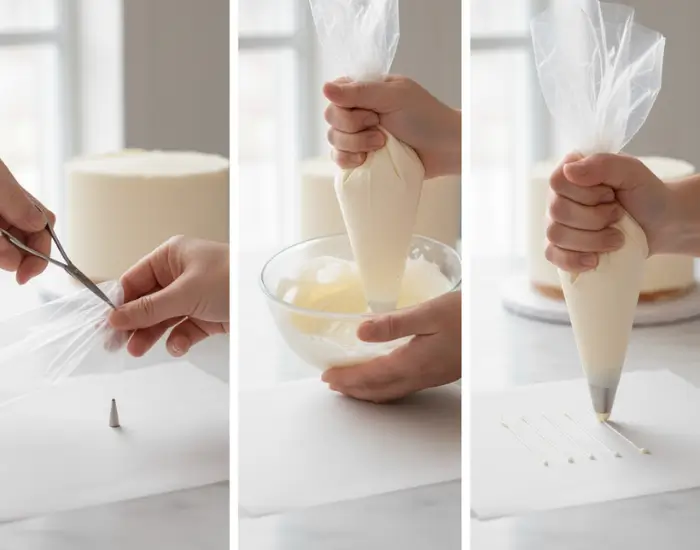
Preparing your piping bag
- Fit
the piping tip into the bag. If using a disposable bag, trim the end
carefully so the tip sits snug.
- Fill
the bag halfway with prepared icing. Do not overfill — too much icing is
harder to control.
- Twist the bag at the top and rest it in your dominant hand; use your other hand to guide.
Practice a few straight lines and dots on parchment to judge pressure and flow before you touch the cake.
For more icing techniques, check out our detailed guide on
How to Pipe Perfect Rosettes in Bhopal — https://www.blueheaven.in/blog/tutorials/how-to-pipe-perfect-rosettes-in-bhopal
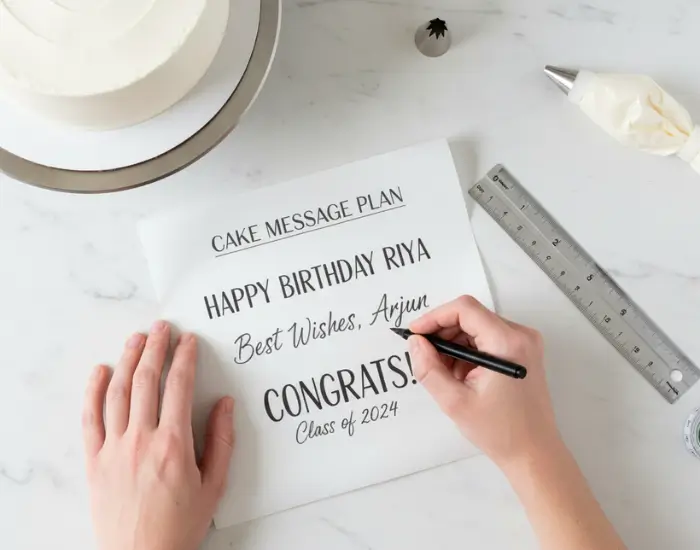
Step 1 — Plan the message
Keep it short. One line is ideal. If more than one line is
necessary, keep the second line shorter.
- Decide
the exact wording first. Example: “Happy Birthday Riya” or “Best Wishes,
Arjun”.
- Count
characters and estimate width. Measure the cake top to choose the maximum
message length.
- Select
font style: simple block letters, cursive script, or a hybrid. Block
letters are forgiving; script looks elegant but needs steady pressure.
Pro tip: If the cake has a border or piped edge, leave space
so the message sits comfortably in the centre.
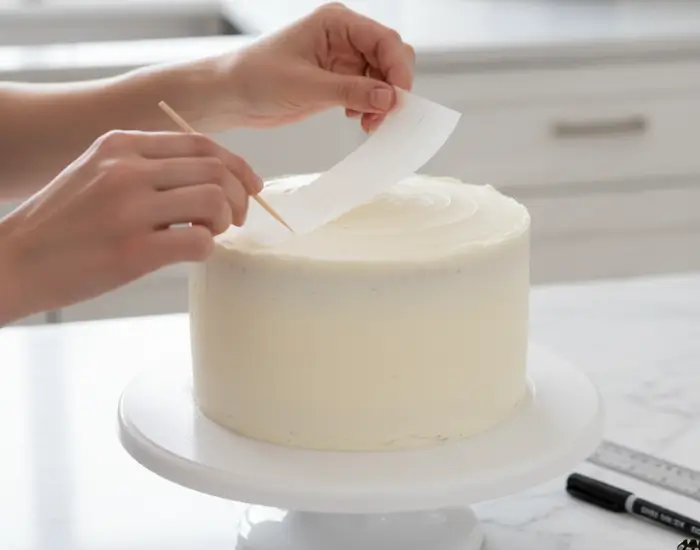
Step 2 — Create spacing guides
- Cut
a strip of parchment to the width of the cake top.
- Draw
faint guide lines with a marker on parchment where you want the text to
sit. Use a ruler to make evenly spaced lines for multi-line messages.
- Place
the parchment on the chilled cake and use a toothpick to gently mark the
cake surface along the guide lines — this creates tiny indentations to
follow while piping.
These faint marks keep letters straight and centered.
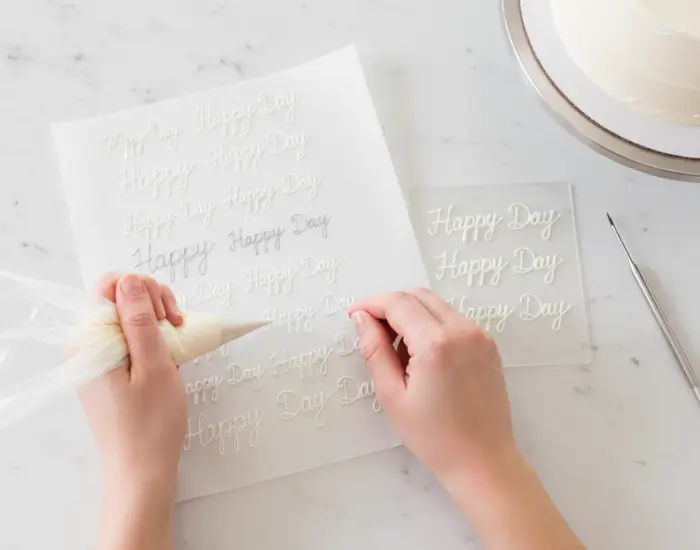
Step 3 — Practice on parchment
Never start directly on the cake.
- Practice
each letter on parchment or acetate with the same tip and icing.
- Try
several versions of the words to find the best spacing and letter height.
- Work
on pressure control: light pressure for thin lines, slightly more for
thicker strokes.
Practice until the letters look consistent. This builds
confidence and steadies the hand.
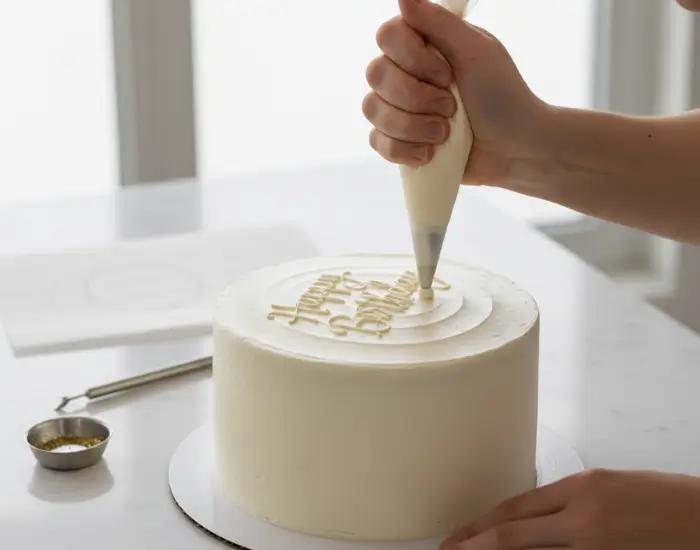
Step 4 — Piping the message on the cake
- Hold
the piping bag at a 45° angle, tip close to the surface. Rest the elbow or
little finger on the table for stability.
- Begin
from the middle of the message and pipe outwards when writing script. For
block letters, start from left to right. Starting from centre helps keep
the text balanced on both sides.
- Maintain
even pressure. If you pause, pull the bag away quickly to avoid blobs.
- If a
mistake happens, use a clean toothpick to gently lift the icing before it
sets; smooth the area with a small amount of scraped cream and recolour if
necessary.
Remember: a chilled cake helps the icing sit instead of
sinking.
Step 5 — Finishing touches
- Go
over thin parts with tiny extra dots where needed, then blend carefully
with the scribe.
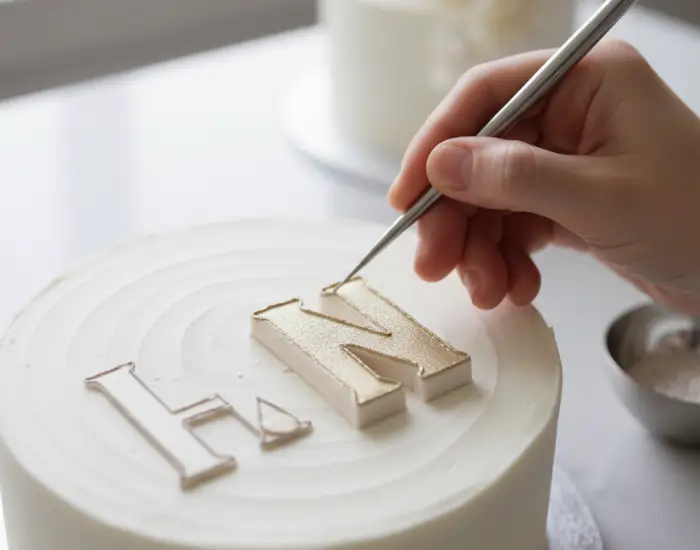
- For
polished edges on block letters, apply a small outline of slightly darker
colour and blend outward for a shadow effect.
- If
using metallic dust or small sugar pearls, apply them after the icing has
set to avoid melting accents.
Less is often more. Small corrections make the message look
neat without overworking the surface.
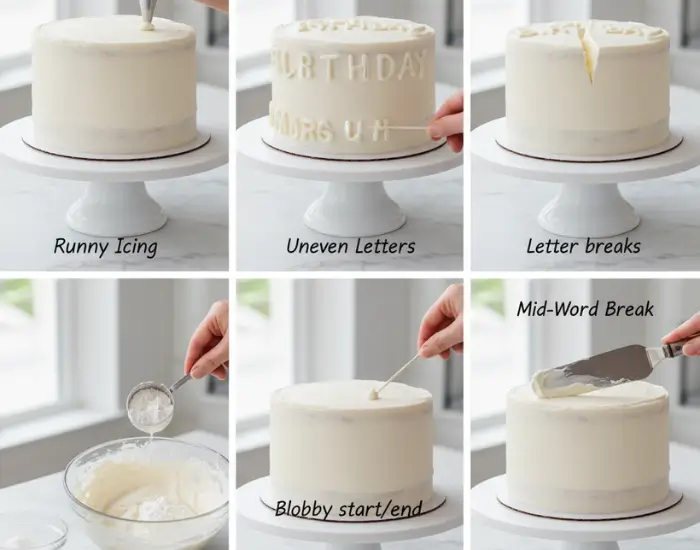
Common problems and how to fix them
Icing is too runny — chill the icing briefly or add a
little more powdered sugar to thicken.
Letters are uneven — practice letter height and spacing on paper; use a
guide and mark the cake surface.
Icing blobs or starts/ends are thick — pull the bag away cleanly and
trim the end of the piped line with a toothpick. Smooth carefully.
Letter breaks mid-word — steady the bag and ensure consistent pressure;
consider a wider tip for beginners.
If a mistake cannot be fixed neatly, scrape a thin layer of
icing off the top, smooth, chill and begin again. It is better to redo than to
present a messy final product.
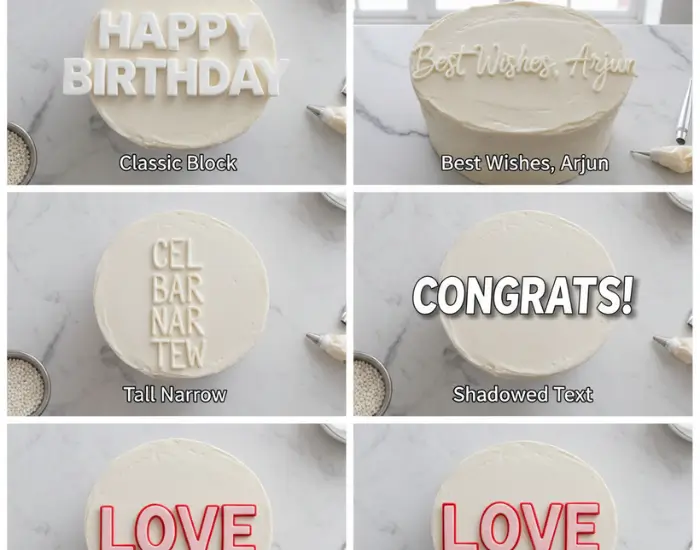
Creative lettering styles (simple, high impact)
- Classic
Block: Clear, bold letters that read well from a distance. Good for
long messages.
- Modern
Script: Mimics handwriting; best for short names or phrases.
- Tall
Narrow: Elegant vertical letters for slender cake tops.
- Shadowed
Text: Pipe a slightly darker outline and blur outward for depth.
- Two-Tone:
Use a thin outline of contrasting colour to make letters pop.
Select one style and practice it until the hand becomes
steady.
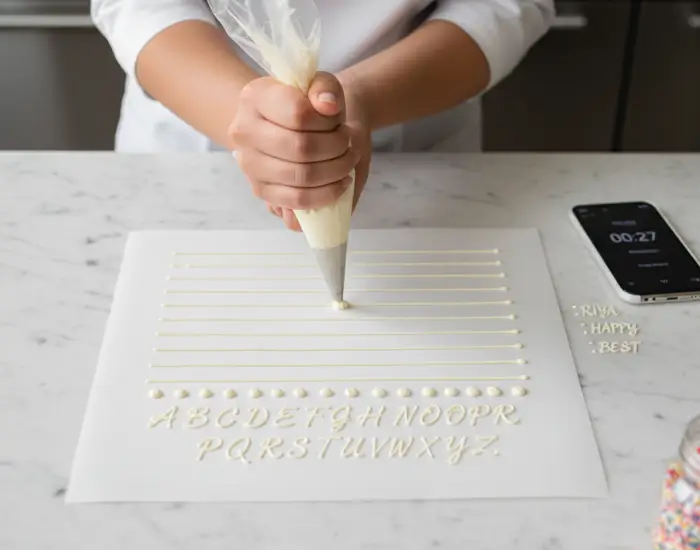
Practice drills to build skill
- Daily
5-minute drills: pipe straight lines, circles, and small letters on
parchment.
- Write
the alphabet in the chosen style once every day for a week.
- Time
practice: write short names under 30 seconds to develop control.
Skill improves quickly with focused, regular practice.
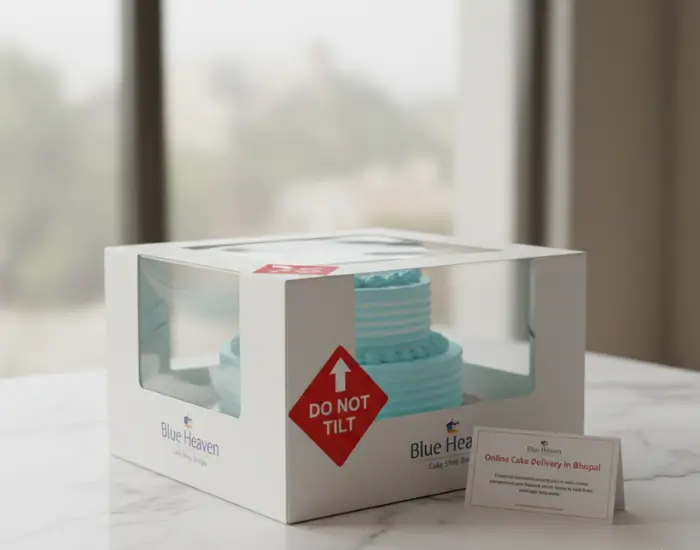
Packaging and delivery considerations
If the cake will be transported: use slightly firmer icing
and a cake box with internal support. Write the message after the cake is
chilled, and chill again before packing. If the cake must travel far, include a
small “Do Not Tilt” note for the delivery team.
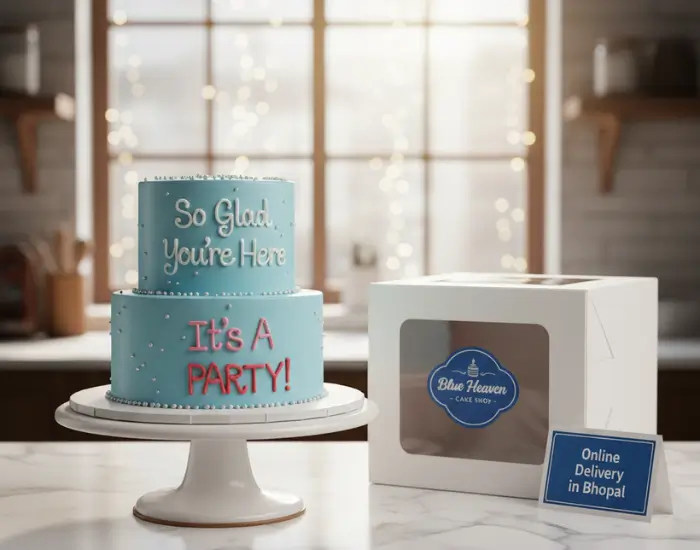
If offering both baking and delivery services, note that
many customers prefer the convenience of Online Cake Delivery in Bhopal We ensure our custom messages are perfectly set before dispatching, and include
a short message option at checkout to keep messages concise and deliverable.
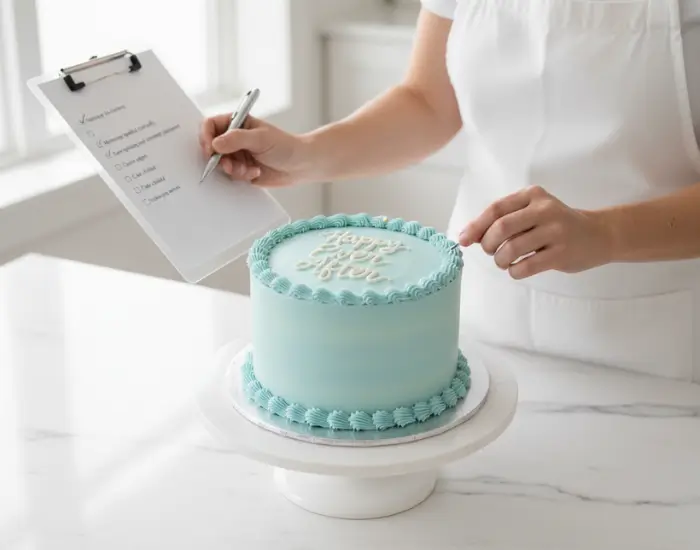
Short checklist before presenting the cake
- Message
spelled correctly (double-check names and dates).
- Even
spacing and centred placement.
- Clean
edges and no smeared marks on cake sides.
- Cake
chilled if required.
- Packaging
secure for transport.
This final check prevents the most common errors.
Final notes
Beautiful cake messages come from preparation, steady hands
and practice. The method above is simple and reliable, designed to give
consistent results whether the baker is a beginner or runs a small
neighbourhood bake shop. For those who want a professional finish without the
learning curve, the experts at Blue Heaven, your trusted choice for OnlineCake Delivery in Bhopal, offer flawless hand-written messages. For home
bakers, five minutes of daily practice will transform handwriting on cakes from
hesitant to confident.
A clean, well-written message transforms any cake into a
memory. Use the steps here, start small and practise — the results will delight
customers and loved ones alike.


Share Your Thoughts